Getting Started
This guide includes setup, configuration, and basic development steps.
Setup
You will want to follow the instructions here and:
- create a Google Cloud Project. Check to see if your institution can make one on your behalf (with possibly reduced rates)
- install the gcloud command line client and Python3+
- authenticate on the command line with
gcloud auth application-default login
For example, after I’ve created my project and I’ve installed gcloud, I might login and then set the default project to be my new project:
$ gcloud auth application-default login
$ gcloud config set project <myproject>
Config
In the config.py file, you can define as many or
as few of the custom variables (e.g., a Twitter alias) as you like. These are
rendered in various pages by default. You can also choose to disable authentication
with disable_auth = True.
Development
To develop locally, you’ll want to create a local environment and then install dependencies to it.
python -m venv env
source env/bin/activate
pip install  -r requirements.txt
Then you will want to copy the .example-env file to .env, populate it with your secrets, and source it:
source .env
And then to run the application locally, issue this command:
python main.py
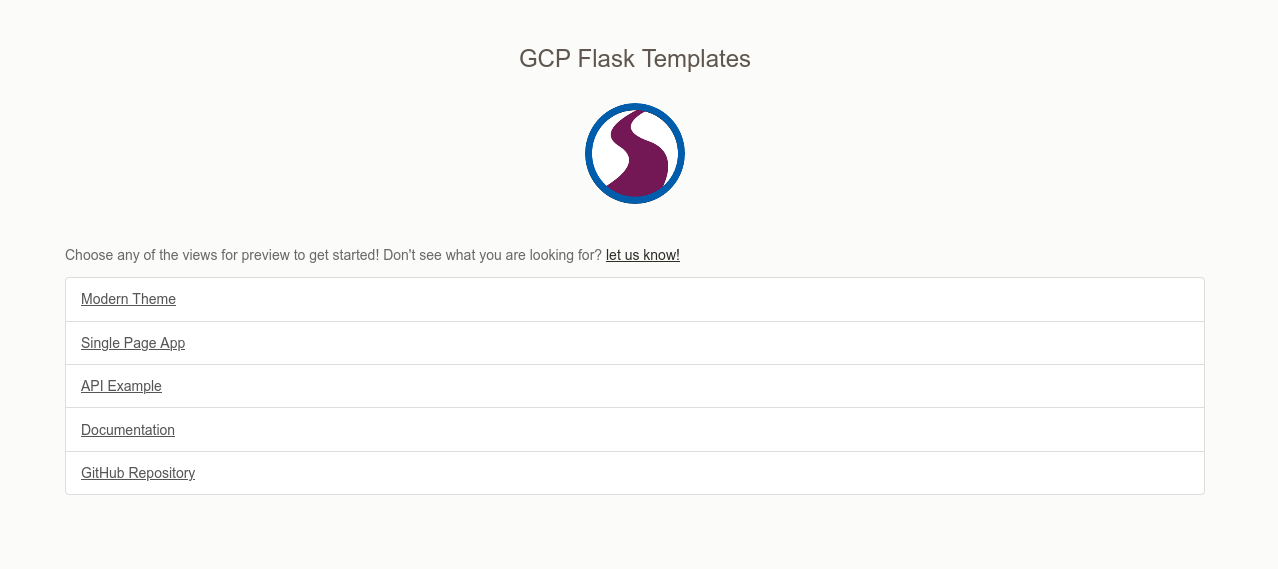
And then you can open up your browser to http://localhost:8080. The main index view is a small portal to direct you to views and features available.

Testing
A set of example tests are provided in test_gcpflask.py, and you can read more about testing in flask here. You can run local testing with pytest as follows:
$ pytest -sv test_gcpflask.py
Security
Before deploying any final application, please have a security audit to ensure you are using best practices.Deployment
When you are ready to deploy to app engine, first make sure that you are again authenticated to use the correct project:
$ gcloud auth application-default login
$ gcloud config set project <myproject>
You’ll first want to enable app engine, and you’ll need to choose a zone. If you get a permission denied error, add permissions for app engine to the username associated with your account on the Google Cloud Interface. When permissions are correct, the following commands will work.
$ gcloud app create --project=<myproject>
When you are ready, deploy your app!
$ gcloud app deploy
Initializing App Engine resources...done.
Services to deploy:

descriptor:      [/home/vanessa/Desktop/Code/gcp-flask-template/app.yaml]
source:          [/home/vanessa/Desktop/Code/gcp-flask-template]
target project:  [srcc-dinosaur-dev]
target service:  [default]
target version:  [xxxxxxxxxxxxxxxxx]
target url:      [https://srcc-dinosaur-dev.uc.r.appspot.com]


Do you want to continue (Y/n)?  y

Beginning deployment of service [default]...
╔════════════════════════════════════════════════════════════╗
╠═ Uploading 118 files to Google Cloud Storage              ═╣
╚════════════════════════════════════════════════════════════╝
File upload done.
Updating service [default]...done.
Setting traffic split for service [default]...done.
Deployed service [default] to [https://srcc-dinosaur-dev.uc.r.appspot.com]

You can stream logs from the command line by running:
  $ gcloud app logs tail -s default

To view your application in the web browser run:
  $ gcloud app browse
In the above we see:
- a confirmation of app metadata
- files uploaded to Google Storage
- the final deployed URL.
- commands to show logs, or open to the url (browse).
Note that the .gcloudignore file is important to not upload your docs, Python environment, or other metadata or secrets. Speaking of environment variables, if you need them you can add them to your app.yml file. Indeed, if you needed to write all of these functions (e.g., build a container, have static files uploaded to storage, etc.) it would have been very cumbersome. But this deployment is in fact incredibly easy! App Engine is great because you pay for what you use, and the base containers are maintained for you. And a few final tips:
- if you need to re-do the storage upload, you can delete the buckets entirely (both for staging and production) and they will be re-generated.
Cleaning Up
You should navigate to App Engine –> Settings and then click on “Disable Application” to permanently disable it. Cleaning up also then means:
- deleting the production and staging storage buckets for your app
- deleting the storage artifacts bucket (e.g., logs) if they are not needed.
Next Steps
By default, the database (sqlite) won’t work on app engine because it’s a read only file
system. Google Cloud Managed SQL is an option, however it’s expensive (typically $55 a month)
and so you might consider checking if your institution can host a SQL database for you.
You would then export the FLASKAPP_DATABASE in your local .env file for local testing and
development (e.g., you would likely want to test/create the database before deployment):
# This is the default
export FLASKAPP_DATABASE=sqlite

# MySql and Postgres
export FLASKAPP_DATABASE=mysql://<username>:<password>@<host>/<database-name>
export FLASKAPP_DATABASE=postgresql://<username>:<password>@<host>:5432/<database-name>
More details on writing database strings for sqlalchemy are here. And then also add the environment variable in your app.yml which must not be added to a public GitHub repository, or even a private one for that matter!
Feedback
Was this page helpful?
Glad to hear it! Please tell us how we can improve.
Sorry to hear that. Please tell us how we can improve.